 Aion2 Guide
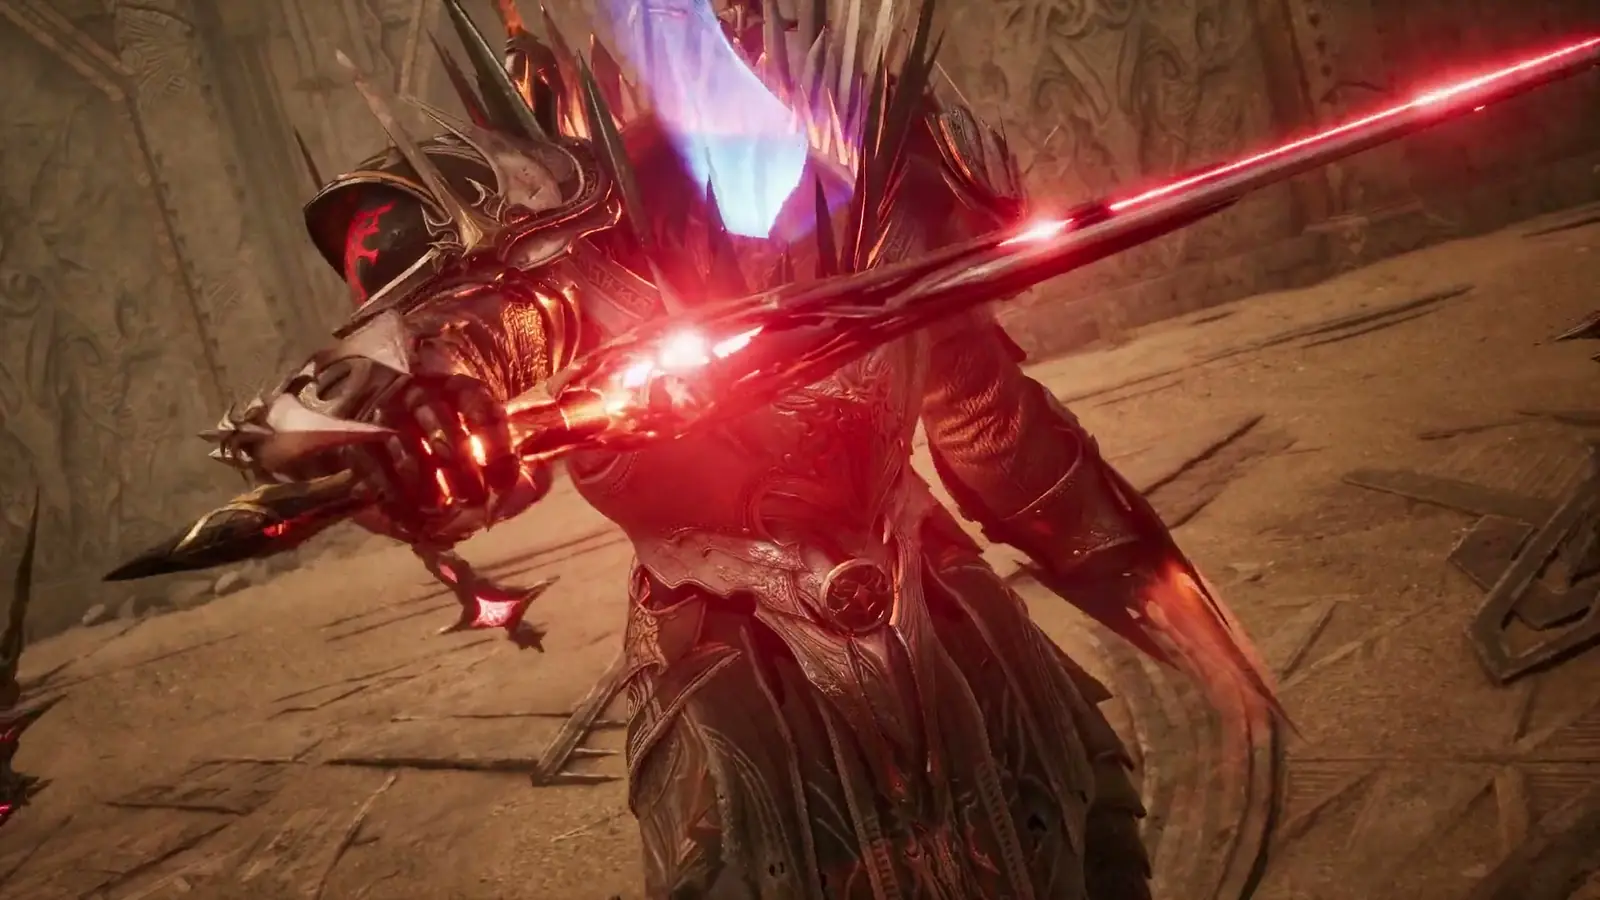
 Build de Templar · PvE en solitario y farmeo
Templar Farmeo en solitario: la mejor build de AION 2
Los Templars farmean más despacio que las clases de DPS puro (MMO Codex, ZYASO), así que lo compensas con Grapple + Empyrean Lord's Punishment para reunir y aturdir grupos de monstruos, y con robos de vida para no tener que parar nunca.
- Rol : Tanque
- ArmaSword + Guard
- Fuente única
- Actualizado el 13/11/2026
- Global · nivel 45
- Dificultad
- Fuentes
- 9
Vincula tu personaje para seguir tu progreso
Tu ficha oficial se vuelve a leer sola: la página te dice en qué etapa estás, qué te falta y qué mejorar primero, sin marcar nada.
La build en cada etapa
desliza el cursor o toca una etapa: toda la página la sigue
Equipo objetivo · 3000
Detalles
+15 ; percée +5
Dónde conseguirla : Artisanat : pièce « Roi dragon sage » (Élyséens) ou « Roi dragon sombre » (Asmodiens) iLvl 94 avec l’Égo de rage, puis combo 25 % vers la version éclatante iLvl 102, ou héritage de la pièce précédente ; Égo de rage : Temple Divin du Feu et Grotte de la Corne Féroce (Conquête et Difficile), groupe de récompenses 5 de Ludra garanti depuis le 11/11 ; liée à l’obtention
Opciones y piedras objetivo
- Blocage · Fury (group buff) / Debilitating Smash
- PV max / DÉF · survival
- Précision · aggro that lands
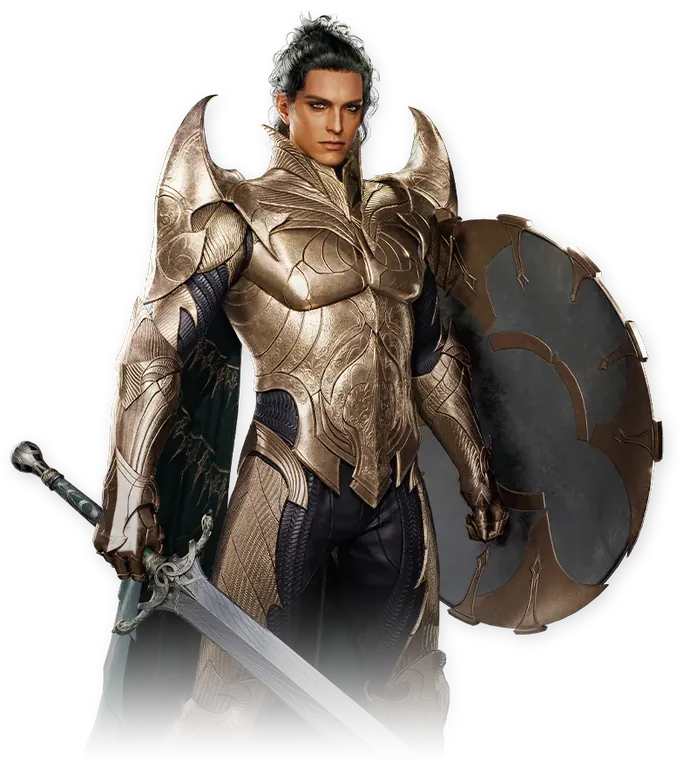
Unique iLvl 102, the highest Global piece for this slot; 8 of the top 9 Templars wear it at +15 Breakthrough 5 (official sheets, Nov 13). Breakthrough 5 on the 102 weapon: Attack +73 and Damage Boost 5% (client data, Aion 2 Maps).
Otras opciones
- Ludra's Scale Sword
Detalles
+15 ; percée +5
Dónde conseguirla : Artisanat : pièce « Roi dragon sage » (Élyséens) ou « Roi dragon sombre » (Asmodiens) iLvl 94 avec l’Égo de rage, puis combo 25 % vers la version éclatante iLvl 102, ou héritage de la pièce précédente ; Égo de rage : Temple Divin du Feu et Grotte de la Corne Féroce (Conquête et Difficile), groupe de récompenses 5 de Ludra garanti depuis le 11/11 ; liée à l’obtention
Opciones y piedras objetivo
- Blocage · Fury (group buff) / Debilitating Smash
- PV max / DÉF · survival
- Précision · aggro that lands
Unique iLvl 102, the highest Global piece for this slot; 8 of the top 9 Templars wear it at +15 Breakthrough 5 (official sheets, Nov 13).
Otras opciones
- Ludra's Heart
Detalles
+15 ; percée +3 à +5
Dónde conseguirla : Artisanat : pièce « Roi dragon sage » (Élyséens) ou « Roi dragon sombre » (Asmodiens) iLvl 94 avec l’Égo de rage, puis combo 25 % vers la version éclatante iLvl 102, ou héritage de la pièce précédente ; Égo de rage : Temple Divin du Feu et Grotte de la Corne Féroce (Conquête et Difficile), groupe de récompenses 5 de Ludra garanti depuis le 11/11 ; liée à l’obtention
Opciones y piedras objetivo
- Blocage · Fury (group buff) / Debilitating Smash
- PV max / DÉF · survival
- Précision · aggro that lands
Unique iLvl 102, the highest Global piece for this slot; 8 of the top 9 Templars wear it at +15 Breakthrough 5 (official sheets, Nov 13).
Detalles
+15 ; percée +3 à +5
Dónde conseguirla : Artisanat : pièce « Roi dragon sage » (Élyséens) ou « Roi dragon sombre » (Asmodiens) iLvl 94 avec l’Égo de rage, puis combo 25 % vers la version éclatante iLvl 102, ou héritage de la pièce précédente ; Égo de rage : Temple Divin du Feu et Grotte de la Corne Féroce (Conquête et Difficile), groupe de récompenses 5 de Ludra garanti depuis le 11/11 ; liée à l’obtention
Opciones y piedras objetivo
- Blocage · Fury (group buff) / Debilitating Smash
- PV max / DÉF · survival
- Précision · aggro that lands
Unique iLvl 102, the highest Global piece for this slot; 8 of the top 9 Templars wear it at +15 Breakthrough 5 (official sheets, Nov 13).
Detalles
+15 ; percée +3 à +5
Dónde conseguirla : Artisanat : pièce « Roi dragon sage » (Élyséens) ou « Roi dragon sombre » (Asmodiens) iLvl 94 avec l’Égo de rage, puis combo 25 % vers la version éclatante iLvl 102, ou héritage de la pièce précédente ; Égo de rage : Temple Divin du Feu et Grotte de la Corne Féroce (Conquête et Difficile), groupe de récompenses 5 de Ludra garanti depuis le 11/11 ; liée à l’obtention
Opciones y piedras objetivo
- Blocage · Fury (group buff) / Debilitating Smash
- PV max / DÉF · survival
- Précision · aggro that lands
Unique iLvl 102, the highest Global piece for this slot; 8 of the top 9 Templars wear it at +15 Breakthrough 5 (official sheets, Nov 13).
Detalles
+15 ; percée +3 à +5
Dónde conseguirla : Artisanat : pièce « Roi dragon sage » (Élyséens) ou « Roi dragon sombre » (Asmodiens) iLvl 94 avec l’Égo de rage, puis combo 25 % vers la version éclatante iLvl 102, ou héritage de la pièce précédente ; Égo de rage : Temple Divin du Feu et Grotte de la Corne Féroce (Conquête et Difficile), groupe de récompenses 5 de Ludra garanti depuis le 11/11 ; liée à l’obtention
Opciones y piedras objetivo
- Blocage · Fury (group buff) / Debilitating Smash
- PV max / DÉF · survival
- Précision · aggro that lands
Unique iLvl 102, the highest Global piece for this slot; 8 of the top 9 Templars wear it at +15 Breakthrough 5 (official sheets, Nov 13).
Detalles
+15 ; percée +3 à +5
Dónde conseguirla : Artisanat : pièce « Roi dragon sage » (Élyséens) ou « Roi dragon sombre » (Asmodiens) iLvl 94 avec l’Égo de rage, puis combo 25 % vers la version éclatante iLvl 102, ou héritage de la pièce précédente ; Égo de rage : Temple Divin du Feu et Grotte de la Corne Féroce (Conquête et Difficile), groupe de récompenses 5 de Ludra garanti depuis le 11/11 ; liée à l’obtention
Opciones y piedras objetivo
- Blocage · Fury (group buff) / Debilitating Smash
- PV max / DÉF · survival
- Précision · aggro that lands
Unique iLvl 102, the highest Global piece for this slot; 8 of the top 9 Templars wear it at +15 Breakthrough 5 (official sheets, Nov 13).
Detalles
+15 ; percée +3 à +5
Dónde conseguirla : Artisanat : pièce « Roi dragon sage » (Élyséens) ou « Roi dragon sombre » (Asmodiens) iLvl 94 avec l’Égo de rage, puis combo 25 % vers la version éclatante iLvl 102, ou héritage de la pièce précédente ; Égo de rage : Temple Divin du Feu et Grotte de la Corne Féroce (Conquête et Difficile), groupe de récompenses 5 de Ludra garanti depuis le 11/11 ; liée à l’obtention
Opciones y piedras objetivo
- Blocage · Fury (group buff) / Debilitating Smash
- PV max / DÉF · survival
- Précision · aggro that lands
Unique iLvl 102, the highest Global piece for this slot; 8 of the top 9 Templars wear it at +15 Breakthrough 5 (official sheets, Nov 13).
Detalles
+15 ; percée +3 à +5
Dónde conseguirla : Artisanat : pièce « Roi dragon sage » (Élyséens) ou « Roi dragon sombre » (Asmodiens) iLvl 94 avec l’Égo de rage, puis combo 25 % vers la version éclatante iLvl 102, ou héritage de la pièce précédente ; Égo de rage : Temple Divin du Feu et Grotte de la Corne Féroce (Conquête et Difficile), groupe de récompenses 5 de Ludra garanti depuis le 11/11 ; liée à l’obtention
Opciones y piedras objetivo
- Pierres d’âme (même pool)
Block (it triggers Fury), max HP and DEF (your shields are a percentage of your HP), Accuracy so Taunt lands. Offensive variant (Korea): Weapon DMG Boost and CRIT DMG Boost.
Unique iLvl 102, the highest Global piece for this slot; 8 of the top 9 Templars wear it at +15 Breakthrough 5 (official sheets, Nov 13).
Por conseguir · 3000
0 de 39Marca lo que ya tienes: se guarda en este dispositivo.
Habilidades y especializaciones
niveles objetivo a este nivel; el tuyo en naranja cuando está por debajo
Vicious Strike
12- Absorbe un 1 % de HP
- -2 s de enfriamiento de [Warding Strike] al impactar
Pummel
12- [Punishing Strike] absorbe un 3 % de HP
- -1 s de enfriamiento de [Punishment] al impactar
Punishment
12- Absorbe un 10 % de HP
- Se convierte en habilidad móvil
Annihilate
12- +50 % de golpe múltiple al impactar
- -10 s de enfriamiento
Shield Smite
12- Elimina el consumo de MP y restaura 200 MP al impactar
- -2 s de enfriamiento
Judgment
10- Absorbe un 1 % de HP
Poach
8- Reinicia el enfriamiento al derrotar a un enemigo
Warding Strike
8- Regeneración continua mientras dura Warding
Estigmas
4 ranuras abiertas de 4 a este nivel · cuota de los mejores
Grapple
Empyrean Lord's Punishment
Doom Shield
Battlefield Banner
Opciones según el contenido
Executing Blade
Assault Fury
Second Skin
Noble Armor
Estadísticas objetivo
por orden de prioridad; tu valor cuando tu ficha lo da
1Attaque / Boost de DGTVelocidad para eliminar monstruos.
2Multi-coupsDuplica el daño cuando se activa (Bahamut).
3VIT de combatMás golpes de Vicious Strike (maná, absorción).
4Drain / PVCuración sostenida sin tiempos muertos.
Umbrales y topes conocidos
- No se ha publicado ningún umbral del Global.
Daevanion
orden de los tableros
- 1Zikel
- 2Nezekan
- 3Triniel
- 4Vaizel
- 5Ariel
Nodos aconsejados por tablero
- Zikel : Opens at level 20 (134 points in all; route: 57 crystals while leveling, 33 more by 45, 6 with the Nightmare shop). Judgment, Punishment, Pummel, Vicious Strike, Fury ×2, Damage Boost +1.5% ×2, Damage Tolerance +1.5% ×2, Insulting Roar ×2, Impact Hit ×2, Survival Willpower ×2, Warding Strike, Annihilate.
- Nezekan : Opens at level 12 (134 points in all; the Aion 2 Maps route spends 42 crystals there while leveling, 43 more by 45 and 5 with the Nightmare shop). In order: Judgment +1, Punishment +1, Combat Speed +1.5% ×2, Pummel +1, Vicious Strike +1, Cooldown Reduction +1.5% ×2, Enhance Health ×2, Warding Strike +1, Annihilate +1 (Punishing Benediction and Warding Shield are only stepping stones).
- Triniel : Opens at level 40 (168 points in all; route: 20 crystals while leveling, 57 more by 45, 22 with the Nightmare shop). Judgment, Punishment, Fury, Pummel, Insulting Roar, Impact Hit, Enhance Health, Survival Willpower, Vicious Strike, Multi-Hit Chance +1.5% ×3 (Punishing Benediction is only a stepping stone).
- Vaizel : Opens at level 30 (134 points in all; route: 14 crystals while leveling, 50 more by 45, 17 with the Nightmare shop). Judgment, Punishment, Fury, Pummel, Insulting Roar, Impact Hit, Enhance Health, Survival Willpower, Vicious Strike, Critical Damage Boost +1.5% ×2 (Shield Rush is only a stepping stone).
Arcana
Arcana: 5 ranuras en la ficha oficial del Global (Mein-MMO dice 4: por comprobar en el juego). Cada carta sube niveles de habilidad y da una estadística divina; varias cartas del mismo set añaden una bonificación PvE. Ver la ficha de Arcana
Recomendadas para este build
Cartes portant Frappe féroce / Frappes successives / Châtiment
Más niveles en las habilidades AoE = grupos de monstruos eliminados más rápido (ExpCarry). Conserva tus cartas de tanque si solo tienes un set.
Rotación y macro

Farming: Doom Shield first, pack to pack
Macro de SolAshur (Ashura Whole Heavens)Fuente única
- En solitario y subida de nivel
- Desde el nivel 45
- 4 de 4 Stigmas
Mantén X1 con Clic izq.botón lateral del ratón, recomendado: el juego no asigna ninguna tecla
- Paso 1: Clic der., Judgment, Shield Smite, Warding Strike
- Paso 2: E, Doom Shield, Annihilate, Debilitating Smash, Pummel
- en bucle, 10 ms
Por qué esta macro, paso a paso
SolAshur’s “PvX” page is made to go pack to pack: every kill resets Doom Shield and Poach, so Doom Shield at priority 0 throws you onto the next pack and knocks it down; Annihilate fires on the knocked-down mobs, Debilitating Smash on its proc, and the entry turns into Pummel spam when nothing is lit. It is the reverse of the dungeon and levelling builds, where Annihilate comes before Doom Shield so you never rush at the wrong time.
 Judgment : Priority 0: every shield window.
 Shield Smite : Opens Judgment for 2 s (SolAshur puts it before Warding Strike).
 Warding Strike : Opens Judgment for 2 s, heals.
 Doom Shield : Priority 0: rush to the next pack; reset on every kill according to SolAshur.
 Annihilate : On the monsters Doom Shield knocks down.
 Debilitating Smash : On its proc after a block.
 Pummel : Spammed when nothing is lit; it animation-cancels with the right click.
Mantener manual
- Grapple, Empyrean Lord’s Punishment, then a fully charged Punishment to open a big pack.
- Battlefield Banner on big packs; Executing Blade on a stunned elite.
- Poach to chain packs; Defiance if a pack locks you down.
Cómo configurarla en el juego
Entry A (Judgment line) and entry B (Doom Shield, Annihilate, Debilitating Smash, Pummel), 10 to 30 ms, left click held. SolAshur fires the Judgment line with a mouse macro (Razer, about 10 presses per second); on Global, put it in entry A of the in-game macro.
- Abre las habilidades (K) y luego el botón de macro arriba a la derecha.
- Añade un paso por tecla azul, en el orden de los números: haz clic en su icono y elige la ranura.
- Retraso de cada paso: 10 ms.
- Ajustes, Teclas, General, Macro de habilidades: asigna la tecla que la mantiene.
De dónde viene esta macro
SolAshur (Ashura Whole Heavens, Templar creator, Taiwan server), “Templar Macro Guide”, “PvX” setup (rifts, Abyss), updated 25 Sep 2026: entry B exact (“Doom Shield → Annihilate → Debilitating Smash → Pummel”); entry A is the Judgment key he alternates with right click in every setup, as he details it for PvE, without Doom Shield, already in B. His PvX Stigmas (Empyrean Lord’s Punishment, Executing Blade, Banner, Doom Shield) are this build’s.
Fuentes:solashur.comsolashur.com
Elegida para ti: macro de tu build · pensada para: En solitario y subida de nivel
Por qué esta barra
- Clic izq.Vicious Strike : Vicious Strike, held with the macro: its chain restores 100 to 120 MP, each hit cuts Warding Strike's cooldown by 2 s (level 12 specialization) and it is what cancels Judgment (“맹심”).
- Clic der.Judgment › Shield Smite › Warding Strike : Judgment line, 1st macro entry (bottom slot = priority): Judgment in every window, Warding Strike and Shield Smite to reopen it, Pummel at the top to fill the gaps.
- QShield Rush › Poach : After a dodge, Shield Rush (opens Judgment for 2 s); otherwise Poach to bring back a target or get back to the boss (boss specialization: moves you to an immune target).
- EDoom Shield › Annihilate › Debilitating Smash › Pummel : Annihilate line, 2nd entry: Annihilate as soon as it lights up (stunned or knocked-down target, 5% on a boss); otherwise Doom Shield, which opens Judgment for 3 s and resets Annihilate (tier 5).
- 1Grapple : Cambiada para tu build: sus estigmas ocupan el lugar de Taunt, previsto en la plantilla de la clase.
- 2Empyrean Lord's Punishment : Cambiada para tu build: sus estigmas ocupan el lugar de Shield of Protection, previsto en la plantilla de la clase.
- 3Defiance : Defiance: against the crowd control that would cost you the boss; Koreans keep it for the big knockdown slam (Inven, Oct 5).
- 5Punishment › Flash Rampage : Punishment, held until fully charged (it fires by itself at the last stage): 4 targets and Executor for 20 s (Accuracy +200, PvE Damage Boost +20%). Flash Rampage above it fires from the same key during the groggy while Punishment is on cooldown (빵호빵).
- RBattlefield Banner : Battlefield Banner: Attack based on your Defense for 10 s (Weapon Damage Boost +10% at tier 10); by hand for the opener and damage windows, or as the macro's 3rd entry for comfort.
- AION2 Hub (global) – fiche Templier : compétences du client global (Launch Scale Test, 19/09/2026)Prensa19/09/2026Fuente única
- MMO Codex (global, EN) — Aion 2 Templar Guide (maj. 21/09/2026 ; aLuckyRO, Seonghan, binstory, Ppayeomland…)Guía o creador21/09/2026Contrastado
- aLuckyRO (YouTube, global EN) — « AION 2 Templar PVE Build for Skills & Stigmas »Guía o creador01/09/2026Contrastado
- ExpCarry (global, site de boost) — AION 2 Templar BuildsSitio comercial28/09/2026Deducción
- Bahamut (TW) — « 守護星 PVE 技能配點 »Comunidad20/11/2025Fuente única
- NC (KR) — Note de mise à jour du 22/07/2026 (drain de vie limité à une cible)Oficial22/07/2026Oficial
- Aion 2 Maps (global) – guide Templier : build à 45, stigmas, plateaux Daevanion, macro, tank, JcJ (MAJ 02/10/2026 ; client global + sources de créateurs et fiches officielles)Prensa02/10/2026Contrastado
- Fiches officielles NC, plateau Daevanion Ariel (n° 25) des 9 premiers Templiers du global : 153 nœuds, 232 points, 73 à 122 nœuds ouverts (lues le 13/11/2026)Oficial13/11/2026Oficial
- MetaBot.GG (global) – Templar build : 3 741 Templiers suivis (stigmas, compétences, arcanes, Daevanion ; données du 12/11/2026)Prensa12/11/2026Contrastado