 Aion2 Guide
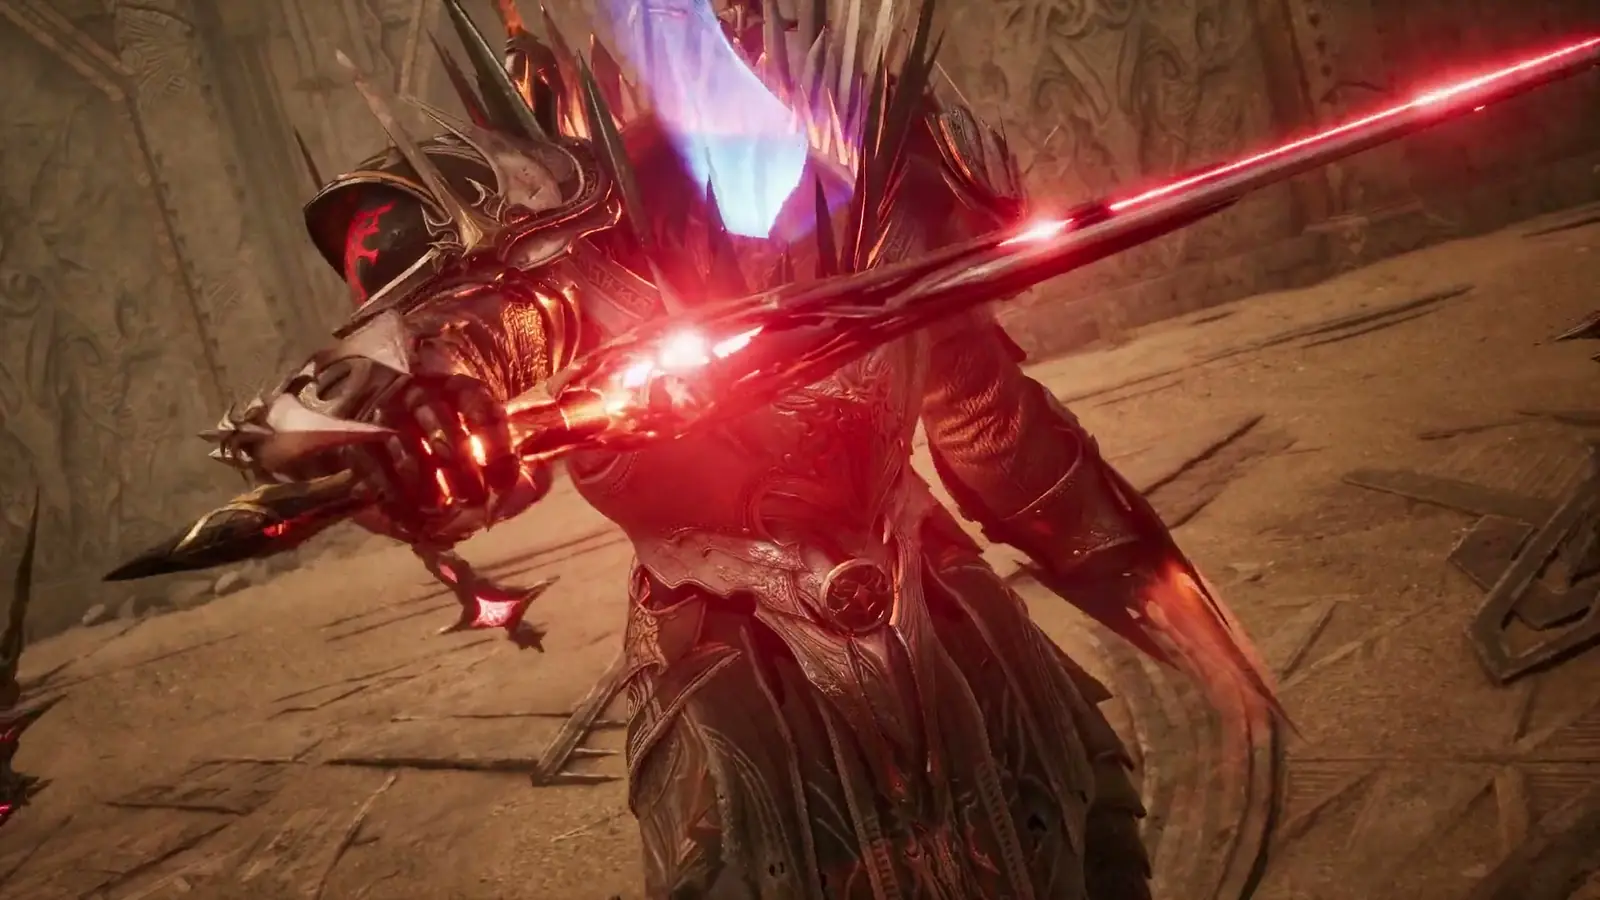
 テンプラーのビルド · ソロPvE・周回
テンプラー ソロ周回:AION 2 最強ビルド
テンプラーは、純粋なDPSクラスより周回が遅め(MMO Codex、ZYASO)です。そのため、Grapple+Empyrean Lord's Punishmentで群れをまとめてスタンさせ、HP吸収で止まらずに戦い続けることで補います。
- ロール : タンク
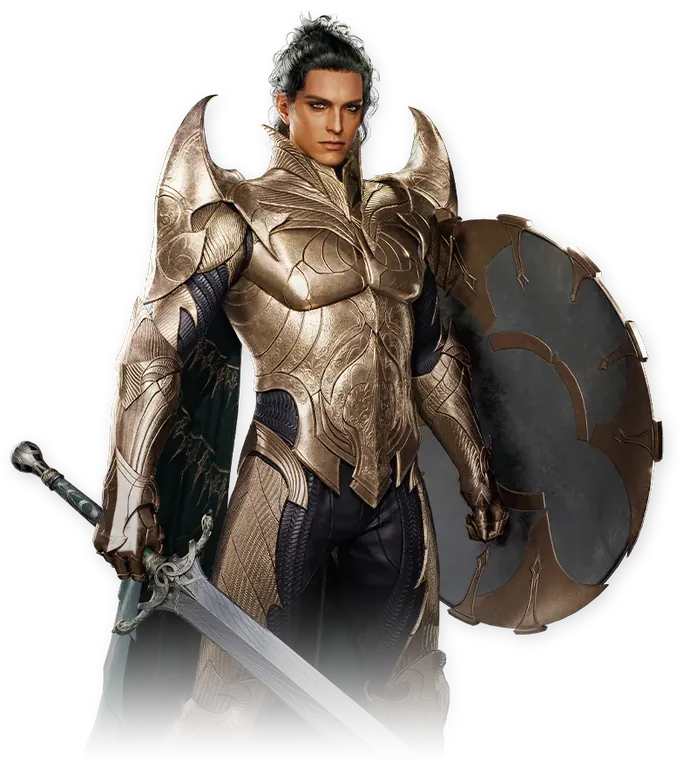
- 武器Sword + Guard
- 単一ソース
- 2026/11/13 更新
- グローバル · レベル45
- 難易度
- ソース
- 9
キャラクターを連携して進捗を追跡
公式キャラクター情報は自動で再読み込みされます。チェック不要で、今の段階、足りないもの、先に強化すべきものがわかります。
段階ごとのビルド
スライダーを動かすか段階をタップ:ページ全体が連動します
目標装備 · 3,000
詳細
+15 ; percée +5
入手方法 : Artisanat : pièce « Roi dragon sage » (Élyséens) ou « Roi dragon sombre » (Asmodiens) iLvl 94 avec l’Égo de rage, puis combo 25 % vers la version éclatante iLvl 102, ou héritage de la pièce précédente ; Égo de rage : Temple Divin du Feu et Grotte de la Corne Féroce (Conquête et Difficile), groupe de récompenses 5 de Ludra garanti depuis le 11/11 ; liée à l’obtention
狙うオプションと魔石
- Blocage · Fury (group buff) / Debilitating Smash
- PV max / DÉF · survival
- Précision · aggro that lands
Unique iLvl 102, the highest Global piece for this slot; 8 of the top 9 Templars wear it at +15 Breakthrough 5 (official sheets, Nov 13). Breakthrough 5 on the 102 weapon: Attack +73 and Damage Boost 5% (client data, Aion 2 Maps).
ほかの選択肢
- Ludra's Scale Sword
詳細
+15 ; percée +5
入手方法 : Artisanat : pièce « Roi dragon sage » (Élyséens) ou « Roi dragon sombre » (Asmodiens) iLvl 94 avec l’Égo de rage, puis combo 25 % vers la version éclatante iLvl 102, ou héritage de la pièce précédente ; Égo de rage : Temple Divin du Feu et Grotte de la Corne Féroce (Conquête et Difficile), groupe de récompenses 5 de Ludra garanti depuis le 11/11 ; liée à l’obtention
狙うオプションと魔石
- Blocage · Fury (group buff) / Debilitating Smash
- PV max / DÉF · survival
- Précision · aggro that lands
Unique iLvl 102, the highest Global piece for this slot; 8 of the top 9 Templars wear it at +15 Breakthrough 5 (official sheets, Nov 13).
ほかの選択肢
- Ludra's Heart
詳細
+15 ; percée +3 à +5
入手方法 : Artisanat : pièce « Roi dragon sage » (Élyséens) ou « Roi dragon sombre » (Asmodiens) iLvl 94 avec l’Égo de rage, puis combo 25 % vers la version éclatante iLvl 102, ou héritage de la pièce précédente ; Égo de rage : Temple Divin du Feu et Grotte de la Corne Féroce (Conquête et Difficile), groupe de récompenses 5 de Ludra garanti depuis le 11/11 ; liée à l’obtention
狙うオプションと魔石
- Blocage · Fury (group buff) / Debilitating Smash
- PV max / DÉF · survival
- Précision · aggro that lands
Unique iLvl 102, the highest Global piece for this slot; 8 of the top 9 Templars wear it at +15 Breakthrough 5 (official sheets, Nov 13).
詳細
+15 ; percée +3 à +5
入手方法 : Artisanat : pièce « Roi dragon sage » (Élyséens) ou « Roi dragon sombre » (Asmodiens) iLvl 94 avec l’Égo de rage, puis combo 25 % vers la version éclatante iLvl 102, ou héritage de la pièce précédente ; Égo de rage : Temple Divin du Feu et Grotte de la Corne Féroce (Conquête et Difficile), groupe de récompenses 5 de Ludra garanti depuis le 11/11 ; liée à l’obtention
狙うオプションと魔石
- Blocage · Fury (group buff) / Debilitating Smash
- PV max / DÉF · survival
- Précision · aggro that lands
Unique iLvl 102, the highest Global piece for this slot; 8 of the top 9 Templars wear it at +15 Breakthrough 5 (official sheets, Nov 13).
詳細
+15 ; percée +3 à +5
入手方法 : Artisanat : pièce « Roi dragon sage » (Élyséens) ou « Roi dragon sombre » (Asmodiens) iLvl 94 avec l’Égo de rage, puis combo 25 % vers la version éclatante iLvl 102, ou héritage de la pièce précédente ; Égo de rage : Temple Divin du Feu et Grotte de la Corne Féroce (Conquête et Difficile), groupe de récompenses 5 de Ludra garanti depuis le 11/11 ; liée à l’obtention
狙うオプションと魔石
- Blocage · Fury (group buff) / Debilitating Smash
- PV max / DÉF · survival
- Précision · aggro that lands
Unique iLvl 102, the highest Global piece for this slot; 8 of the top 9 Templars wear it at +15 Breakthrough 5 (official sheets, Nov 13).
詳細
+15 ; percée +3 à +5
入手方法 : Artisanat : pièce « Roi dragon sage » (Élyséens) ou « Roi dragon sombre » (Asmodiens) iLvl 94 avec l’Égo de rage, puis combo 25 % vers la version éclatante iLvl 102, ou héritage de la pièce précédente ; Égo de rage : Temple Divin du Feu et Grotte de la Corne Féroce (Conquête et Difficile), groupe de récompenses 5 de Ludra garanti depuis le 11/11 ; liée à l’obtention
狙うオプションと魔石
- Blocage · Fury (group buff) / Debilitating Smash
- PV max / DÉF · survival
- Précision · aggro that lands
Unique iLvl 102, the highest Global piece for this slot; 8 of the top 9 Templars wear it at +15 Breakthrough 5 (official sheets, Nov 13).
詳細
+15 ; percée +3 à +5
入手方法 : Artisanat : pièce « Roi dragon sage » (Élyséens) ou « Roi dragon sombre » (Asmodiens) iLvl 94 avec l’Égo de rage, puis combo 25 % vers la version éclatante iLvl 102, ou héritage de la pièce précédente ; Égo de rage : Temple Divin du Feu et Grotte de la Corne Féroce (Conquête et Difficile), groupe de récompenses 5 de Ludra garanti depuis le 11/11 ; liée à l’obtention
狙うオプションと魔石
- Blocage · Fury (group buff) / Debilitating Smash
- PV max / DÉF · survival
- Précision · aggro that lands
Unique iLvl 102, the highest Global piece for this slot; 8 of the top 9 Templars wear it at +15 Breakthrough 5 (official sheets, Nov 13).
詳細
+15 ; percée +3 à +5
入手方法 : Artisanat : pièce « Roi dragon sage » (Élyséens) ou « Roi dragon sombre » (Asmodiens) iLvl 94 avec l’Égo de rage, puis combo 25 % vers la version éclatante iLvl 102, ou héritage de la pièce précédente ; Égo de rage : Temple Divin du Feu et Grotte de la Corne Féroce (Conquête et Difficile), groupe de récompenses 5 de Ludra garanti depuis le 11/11 ; liée à l’obtention
狙うオプションと魔石
- Blocage · Fury (group buff) / Debilitating Smash
- PV max / DÉF · survival
- Précision · aggro that lands
Unique iLvl 102, the highest Global piece for this slot; 8 of the top 9 Templars wear it at +15 Breakthrough 5 (official sheets, Nov 13).
詳細
+15 ; percée +3 à +5
入手方法 : Artisanat : pièce « Roi dragon sage » (Élyséens) ou « Roi dragon sombre » (Asmodiens) iLvl 94 avec l’Égo de rage, puis combo 25 % vers la version éclatante iLvl 102, ou héritage de la pièce précédente ; Égo de rage : Temple Divin du Feu et Grotte de la Corne Féroce (Conquête et Difficile), groupe de récompenses 5 de Ludra garanti depuis le 11/11 ; liée à l’obtention
狙うオプションと魔石
- Pierres d’âme (même pool)
Block (it triggers Fury), max HP and DEF (your shields are a percentage of your HP), Accuracy so Taunt lands. Offensive variant (Korea): Weapon DMG Boost and CRIT DMG Boost.
Unique iLvl 102, the highest Global piece for this slot; 8 of the top 9 Templars wear it at +15 Breakthrough 5 (official sheets, Nov 13).
入手するもの · 3,000
0 / 39持っているものにチェック:この端末に保存されます。
スキルと特化
このレベルでの目標レベル。下回る場合はオレンジ表示
Vicious Strike
12- HPを1%吸収
- 命中時、[Warding Strike]のクールタイム-2秒
Pummel
12- [Punishing Strike]がHPを3%吸収
- 命中時、[Punishment]のクールタイム-1秒
Punishment
12- HPを10%吸収
- 移動中に使えるスキルに変化する
Annihilate
12- 命中時、多段ヒット+50%
- クールタイム-10秒
Shield Smite
12- MP消費なし、命中時にMPを200回復
- クールタイム-2秒
Judgment
10- HPを1%吸収
Poach
8- 敵を倒すとクールタイムがリセットされる
Warding Strike
8- Wardingの持続中、継続的に回復
スティグマ
このレベルで4枠中4枠開放 · 上位プレイヤーの使用率
Grapple
Empyrean Lord's Punishment
Doom Shield
Battlefield Banner
コンテンツに応じた選択肢
Executing Blade
Assault Fury
Second Skin
Noble Armor
目標ステータス
優先順。キャラクター情報にあればあなたの値
1Attaque / Boost de DGT殲滅速度。
2Multi-coups発動するとダメージが2倍になります(Bahamut)。
3VIT de combatVicious Strikeのヒット数が増えます(マナ、ドレイン)。
4Drain / PV止まることなく、継戦力を保てます。
既知のしきい値と上限
- Globalの閾値は公表されていません。
ダエバニオン
ボードの順番
- 1Zikel
- 2Nezekan
- 3Triniel
- 4Vaizel
- 5Ariel
ボードごとのおすすめノード
- Zikel : Lv.20で解放(合計134ポイント。ルート:レベリング中に57クリスタル、Lv.45までにさらに33、Nightmareのショップで6)。Judgment、Punishment、Pummel、Vicious Strike、Fury ×2、ダメージ増加+1.5% ×2、ダメージ耐性+1.5% ×2、Insulting Roar ×2、Impact Hit ×2、Survival Willpower ×2、Warding Strike、Annihilate。
- Nezekan : Lv.12で解放(合計134ポイント。Aion 2 Mapsのルートでは、レベリング中に42クリスタル、Lv.45までにさらに43、Nightmareのショップで5を使います)。順番:Judgment +1、Punishment +1、戦闘速度+1.5% ×2、Pummel +1、Vicious Strike +1、クールタイム短縮+1.5% ×2、Enhance Health ×2、Warding Strike +1、Annihilate +1(Punishing BenedictionとWarding Shieldは、通過するだけのノードです)。
- Triniel : Lv.40で解放(合計168ポイント。ルート:レベリング中に20クリスタル、Lv.45までにさらに57、Nightmareのショップで22)。Judgment、Punishment、Fury、Pummel、Insulting Roar、Impact Hit、Enhance Health、Survival Willpower、Vicious Strike、多段ヒット率+1.5% ×3(Punishing Benedictionは通過するだけのノードです)。
- Vaizel : Lv.30で解放(合計134ポイント。ルート:レベリング中に14クリスタル、Lv.45までにさらに50、Nightmareのショップで17)。Judgment、Punishment、Fury、Pummel、Insulting Roar、Impact Hit、Enhance Health、Survival Willpower、Vicious Strike、クリティカルダメージ増加+1.5% ×2(Shield Rushは通過するだけのノードです)。
アルカナ
Arcana:公式Globalキャラクター情報では5スロットです(Mein-MMOは4と伝えており、ゲーム内で要確認)。カードはそれぞれスキルレベルを上げ、神ステータスを付与します。同じセットのカードを複数揃えると、PvEボーナスが付きます。 Arcanaの詳細を開く
このビルドにおすすめ
Cartes portant Frappe féroce / Frappes successives / Châtiment
範囲スキルのレベルが上がるほど、群れを速く処理できます(ExpCarry)。セットが1つしかないなら、タンク用のカードのままにしておきましょう。
ローテーションとマクロ

Farming: Doom Shield first, pack to pack
SolAshur (Ashura Whole Heavens) 作のマクロ単一ソース
- ソロ・レベリング
- Lv.45から
- スティグマ 4/4
長押し: X1 + 左クリックマウスのサイドボタン(おすすめ):ゲームはキーを割り当てません
- ステップ 1:右クリック、Judgment, Shield Smite, Warding Strike
- ステップ 2:E、Doom Shield, Annihilate, Debilitating Smash, Pummel
- ループ、10 ms
このマクロの理由をステップごとに
SolAshur’s “PvX” page is made to go pack to pack: every kill resets Doom Shield and Poach, so Doom Shield at priority 0 throws you onto the next pack and knocks it down; Annihilate fires on the knocked-down mobs, Debilitating Smash on its proc, and the entry turns into Pummel spam when nothing is lit. It is the reverse of the dungeon and levelling builds, where Annihilate comes before Doom Shield so you never rush at the wrong time.
 Judgment : Priority 0: every shield window.
 Shield Smite : Opens Judgment for 2 s (SolAshur puts it before Warding Strike).
 Warding Strike : Opens Judgment for 2 s, heals.
 Doom Shield : Priority 0: rush to the next pack; reset on every kill according to SolAshur.
 Annihilate : On the monsters Doom Shield knocks down.
 Debilitating Smash : On its proc after a block.
 Pummel : Spammed when nothing is lit; it animation-cancels with the right click.
手動のまま
- Grapple, Empyrean Lord’s Punishment, then a fully charged Punishment to open a big pack.
- Battlefield Banner on big packs; Executing Blade on a stunned elite.
- Poach to chain packs; Defiance if a pack locks you down.
ゲーム内での設定方法
Entry A (Judgment line) and entry B (Doom Shield, Annihilate, Debilitating Smash, Pummel), 10 to 30 ms, left click held. SolAshur fires the Judgment line with a mouse macro (Razer, about 10 presses per second); on Global, put it in entry A of the in-game macro.
- スキル画面(K)を開き、右上のマクロボタンを押します。
- 青いキーごとにステップを1つ、番号順に追加:アイコンをクリックしてスロットを選びます。
- 各ステップのディレイ:10 ms。
- 設定、キー、一般、スキルマクロ:マクロを押し続けるキーを割り当てます。
このマクロの出典
SolAshur (Ashura Whole Heavens, Templar creator, Taiwan server), “Templar Macro Guide”, “PvX” setup (rifts, Abyss), updated 25 Sep 2026: entry B exact (“Doom Shield → Annihilate → Debilitating Smash → Pummel”); entry A is the Judgment key he alternates with right click in every setup, as he details it for PvE, without Doom Shield, already in B. His PvX Stigmas (Empyrean Lord’s Punishment, Executing Blade, Banner, Doom Shield) are this build’s.
選定理由:ビルドのマクロ · 対象:ソロ・レベリング
このバーの理由
- 左クリックVicious Strike : Vicious Strike。マクロと一緒に押しっぱなしにします:そのチェーンでMPを100〜120回復し、ヒットごとにWarding Strikeのクールタイムを2秒短縮し(Lv.12の特化)、Judgmentをキャンセルするのもこのスキルです(「맹심」)。
- 右クリックJudgment › Shield Smite › Warding Strike : Judgmentのライン、マクロの1番目(一番下のスロットが最優先):ウィンドウごとにJudgment、ウィンドウを再び開くWarding StrikeとShield Smite、合間を埋める一番上のPummel。
- QShield Rush › Poach : 回避の後はShield Rush(Judgmentを2秒間開きます)。それ以外のときはPoachで、ターゲットを引き戻すか、ボスのもとに戻ります(ボス特化:免疫を持つ対象のもとへ移動します)。
- EDoom Shield › Annihilate › Debilitating Smash › Pummel : Annihilateのライン、マクロの2番目:Annihilateは光ったらすぐ使います(スタンまたはノックダウン中の対象。ボスでは5%)。そうでなければDoom Shieldで、Judgmentを3秒間開き、Annihilateをリセットします(ティア5)。
- 1Grapple : あなたのビルド用に変更:ビルドのスティグマが、クラスのテンプレートにあったTauntの代わりに入ります。
- 2Empyrean Lord's Punishment : あなたのビルド用に変更:ビルドのスティグマが、クラスのテンプレートにあったShield of Protectionの代わりに入ります。
- 3Defiance : Defiance:ボス戦を台無しにしかねないコントロールへの対策です。韓国のプレイヤーは、大きなノックダウンの叩きつけ用に温存しています(Inven、10月5日)。
- 5Punishment › Flash Rampage : Punishment:フルチャージまで押しっぱなしにします(最終段階で自動的に発動します)。4体の対象に当たり、20秒間Executorが付きます(命中+200、PvEダメージ増加+20%)。その上に置いたFlash Rampageは、Punishmentがクールタイム中のブレイク中に、同じキーから発動します(빵호빵)。
- RBattlefield Banner : Battlefield Banner:10秒間、防御力に基づく攻撃力を得ます(ティア10で武器ダメージ増加+10%)。初手とダメージを出す時間帯は手動で使うか、手軽さを優先するならマクロの3番目に入れます。
- AION2 Hub (global) – fiche Templier : compétences du client global (Launch Scale Test, 19/09/2026)メディア2026/09/19単一ソース
- MMO Codex (global, EN) — Aion 2 Templar Guide (maj. 21/09/2026 ; aLuckyRO, Seonghan, binstory, Ppayeomland…)攻略・クリエイター2026/09/21複数ソースで確認
- aLuckyRO (YouTube, global EN) — « AION 2 Templar PVE Build for Skills & Stigmas »攻略・クリエイター2026/09/01複数ソースで確認
- ExpCarry (global, site de boost) — AION 2 Templar Builds商用サイト2026/09/28推測
- Bahamut (TW) — « 守護星 PVE 技能配點 »コミュニティ2025/11/20単一ソース
- NC (KR) — Note de mise à jour du 22/07/2026 (drain de vie limité à une cible)公式2026/07/22公式
- Aion 2 Maps (global) – guide Templier : build à 45, stigmas, plateaux Daevanion, macro, tank, JcJ (MAJ 02/10/2026 ; client global + sources de créateurs et fiches officielles)メディア2026/10/02複数ソースで確認
- Fiches officielles NC, plateau Daevanion Ariel (n° 25) des 9 premiers Templiers du global : 153 nœuds, 232 points, 73 à 122 nœuds ouverts (lues le 13/11/2026)公式2026/11/13公式
- MetaBot.GG (global) – Templar build : 3 741 Templiers suivis (stigmas, compétences, arcanes, Daevanion ; données du 12/11/2026)メディア2026/11/12複数ソースで確認