 Aion2 Guide
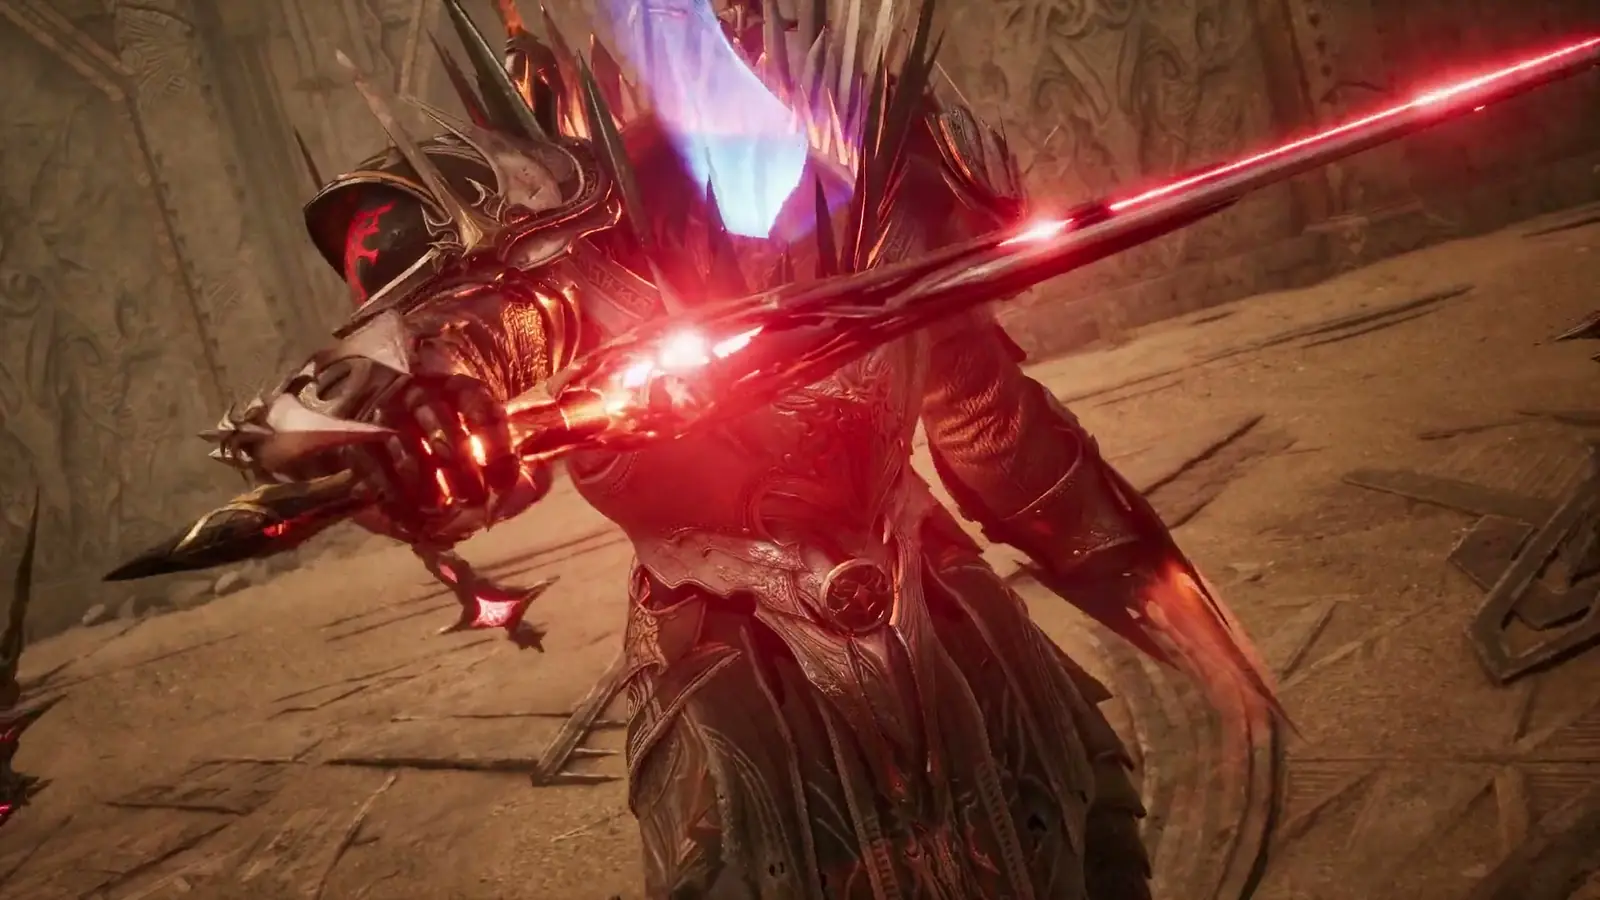
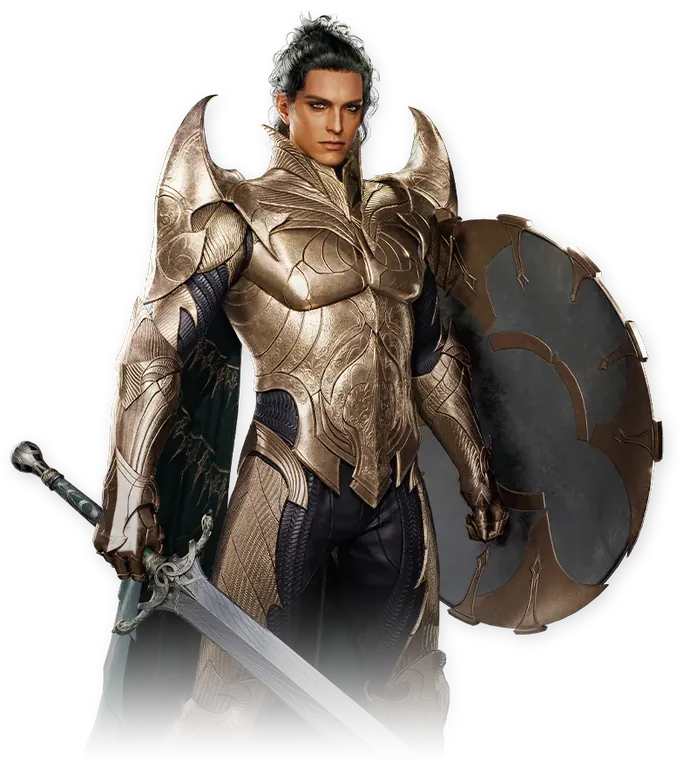
 수호성 빌드 · 솔로 PvE·파밍
캐릭터를 연동해 진행도를 확인하세요
공식 캐릭터 정보가 자동으로 다시 읽힙니다. 체크할 필요 없이 현재 단계, 부족한 것, 먼저 강화할 것을 알려 드립니다.
단계별 빌드
슬라이더를 움직이거나 단계를 누르세요: 페이지 전체가 따라갑니다
목표 장비 ·  80만
자세히
+20 ; percée +7 (paliers 6 et 7 : matériau de percée supérieur)
획득처 : Artisanat : transfert depuis l'arme éclatante du Roi dragon azur / de l'anéantissement + 16 « [진] 폭주한 공포의 기운 » du Champ de neige de la tristesse (notes NC du 09/09 ; Inven, 10/09)
노릴 옵션과 마석
- Boost de DGT en ATQ frontale (전방 피해 증폭) · socketed on 6 of 10 sampled pieces (60%, aion2tool sheets, Oct 5)
- DÉF (방어력) · socketed on 6 of 10 sampled pieces (60%, aion2tool sheets, Oct 5)
- Précision (명중) · socketed on 4 of 10 sampled pieces (40%, aion2tool sheets, Oct 5)
Breakthrough since Nov 11: Damage Amplification instead of Attack. Season 4 piece (Oct 5 snapshot); no record of top season 5 players.
자세히
+20 ; percée +7 (paliers 6 et 7 : matériau de percée supérieur)
획득처 : Artisanat : transfert depuis le Roi dragon Yinglong / Kui éclatant, matériaux du Calice de Muspel (notes NC du 27/05, 01/07 et 12/08)
노릴 옵션과 마석
- Boost de DGT en ATQ frontale (전방 피해 증폭) · socketed on 6 of 10 sampled pieces (60%, aion2tool sheets, Oct 5)
- DÉF (방어력) · socketed on 6 of 10 sampled pieces (60%, aion2tool sheets, Oct 5)
- Précision (명중) · socketed on 4 of 10 sampled pieces (40%, aion2tool sheets, Oct 5)
Breakthrough since Nov 11: Damage Amplification instead of Attack. Season 4 piece (Oct 5 snapshot); no record of top season 5 players.
자세히
+20 ; percée +7 (paliers 6 et 7 : matériau de percée supérieur)
획득처 : Artisanat : transfert depuis le Roi dragon Yinglong / Kui éclatant, matériaux du Calice de Muspel (notes NC du 27/05, 01/07 et 12/08)
노릴 옵션과 마석
- Boost de DGT en ATQ frontale (전방 피해 증폭) · socketed on 21 of 35 sampled pieces (60%, aion2tool sheets, Oct 5)
- ATQ supplémentaire (공격력) · socketed on 16 of 35 sampled pieces (46%, aion2tool sheets, Oct 5)
- PM max (정신력) · socketed on 16 of 35 sampled pieces (46%, aion2tool sheets, Oct 5)
Armor breakthrough since Nov 11: Damage Resistance instead of Defense. Season 4 piece (Oct 5 snapshot); no record of top season 5 players.
다른 선택
- [True] Azure / Annihilation Dragon Lord (“[진] 창룡 / [진] 멸룡”, unofficial translation)
- Liberated White Night (“해방된 백야”, unofficial translation)
자세히
+20 ; percée +7 (paliers 6 et 7 : matériau de percée supérieur)
획득처 : Artisanat : transfert depuis le Roi dragon Yinglong / Kui éclatant, matériaux du Calice de Muspel (notes NC du 27/05, 01/07 et 12/08)
노릴 옵션과 마석
- Boost de DGT en ATQ frontale (전방 피해 증폭) · socketed on 21 of 35 sampled pieces (60%, aion2tool sheets, Oct 5)
- ATQ supplémentaire (공격력) · socketed on 16 of 35 sampled pieces (46%, aion2tool sheets, Oct 5)
- PM max (정신력) · socketed on 16 of 35 sampled pieces (46%, aion2tool sheets, Oct 5)
Armor breakthrough since Nov 11: Damage Resistance instead of Defense. Season 4 piece (Oct 5 snapshot); no record of top season 5 players.
자세히
+20 ; percée +7 (paliers 6 et 7 : matériau de percée supérieur)
획득처 : Artisanat : transfert depuis le Roi dragon Yinglong / Kui éclatant, matériaux du Calice de Muspel (notes NC du 27/05, 01/07 et 12/08)
노릴 옵션과 마석
- Boost de DGT en ATQ frontale (전방 피해 증폭) · socketed on 21 of 35 sampled pieces (60%, aion2tool sheets, Oct 5)
- ATQ supplémentaire (공격력) · socketed on 16 of 35 sampled pieces (46%, aion2tool sheets, Oct 5)
- PM max (정신력) · socketed on 16 of 35 sampled pieces (46%, aion2tool sheets, Oct 5)
Armor breakthrough since Nov 11: Damage Resistance instead of Defense. Season 4 piece (Oct 5 snapshot); no record of top season 5 players.
다른 선택
- [True] Azure / Annihilation Dragon Lord (“[진] 창룡 / [진] 멸룡”, unofficial translation)
- Liberated White Night (“해방된 백야”, unofficial translation)
자세히
+20 ; percée +7 (paliers 6 et 7 : matériau de percée supérieur)
획득처 : Artisanat : transfert depuis le Roi dragon Yinglong / Kui éclatant, matériaux du Calice de Muspel (notes NC du 27/05, 01/07 et 12/08)
노릴 옵션과 마석
- Boost de DGT en ATQ frontale (전방 피해 증폭) · socketed on 21 of 35 sampled pieces (60%, aion2tool sheets, Oct 5)
- ATQ supplémentaire (공격력) · socketed on 16 of 35 sampled pieces (46%, aion2tool sheets, Oct 5)
- PM max (정신력) · socketed on 16 of 35 sampled pieces (46%, aion2tool sheets, Oct 5)
Armor breakthrough since Nov 11: Damage Resistance instead of Defense. Season 4 piece (Oct 5 snapshot); no record of top season 5 players.
자세히
+20 ; percée +7 (paliers 6 et 7 : matériau de percée supérieur)
획득처 : Artisanat : transfert depuis le Roi dragon Yinglong / Kui éclatant, matériaux du Calice de Muspel (notes NC du 27/05, 01/07 et 12/08)
노릴 옵션과 마석
- Boost de DGT en ATQ frontale (전방 피해 증폭) · socketed on 21 of 35 sampled pieces (60%, aion2tool sheets, Oct 5)
- ATQ supplémentaire (공격력) · socketed on 16 of 35 sampled pieces (46%, aion2tool sheets, Oct 5)
- PM max (정신력) · socketed on 16 of 35 sampled pieces (46%, aion2tool sheets, Oct 5)
Armor breakthrough since Nov 11: Damage Resistance instead of Defense. Season 4 piece (Oct 5 snapshot); no record of top season 5 players.
다른 선택
- [True] Azure / Annihilation Dragon Lord (“[진] 창룡 / [진] 멸룡”, unofficial translation)
- Liberated White Night (“해방된 백야”, unofficial translation)
자세히
+20 ; percée +7 (paliers 6 et 7 : matériau de percée supérieur)
획득처 : Artisanat : transfert depuis le Roi dragon Yinglong / Kui éclatant, matériaux du Calice de Muspel (notes NC du 27/05, 01/07 et 12/08)
노릴 옵션과 마석
- Boost de DGT en ATQ frontale (전방 피해 증폭) · socketed on 21 of 35 sampled pieces (60%, aion2tool sheets, Oct 5)
- ATQ supplémentaire (공격력) · socketed on 16 of 35 sampled pieces (46%, aion2tool sheets, Oct 5)
- PM max (정신력) · socketed on 16 of 35 sampled pieces (46%, aion2tool sheets, Oct 5)
Armor breakthrough since Nov 11: Damage Resistance instead of Defense. Season 4 piece (Oct 5 snapshot); no record of top season 5 players.
다른 선택
- [True] Azure / Annihilation Dragon Lord (“[진] 창룡 / [진] 멸룡”, unofficial translation)
- Liberated White Night (“해방된 백야”, unofficial translation)
자세히
+20 ; percée +7 (paliers 6 et 7 : matériau de percée supérieur)
획득처 : Artisanat : transfert depuis le Roi dragon Yinglong / Kui éclatant, matériaux du Calice de Muspel (notes NC du 27/05, 01/07 et 12/08)
노릴 옵션과 마석
- ATQ supplémentaire (공격력) · socketed on 19 of 35 sampled pieces (54%, aion2tool sheets, Oct 5)
- Boost de DGT en ATQ frontale (전방 피해 증폭) · socketed on 16 of 35 sampled pieces (46%, aion2tool sheets, Oct 5)
- Blocage (막기) · socketed on 15 of 35 sampled pieces (43%, aion2tool sheets, Oct 5)
Breakthrough since Nov 11: Damage Amplification instead of Attack. Season 4 piece (Oct 5 snapshot); no record of top season 5 players.
획득할 것 · 80만
0/42이미 가진 것을 체크하세요: 이 기기에 저장됩니다.
스킬과 특화
이 레벨의 목표 레벨, 내 레벨이 낮으면 주황색
Vicious Strike
12- 생명력 1% 흡수
- 적중 시 [비호의 일격] 재시전 시간 2초 감소
Pummel
12- [응징의 일격] 생명력 3% 흡수
- 적중 시 [징벌] 재시전 시간 1초 감소
Punishment
12- 생명력 10% 흡수
- 이동 가능 스킬로 변경
Annihilate
12- 적중 시 다단 히트 50% 증가
- 재시전 시간 10초 감소
Shield Smite
12- 정신력 소모를 없애고 적중 시 정신력 200 회복
- 재시전 시간 2초 감소
Judgment
10- 생명력 1% 흡수
Poach
8- 적 처치 시 재시전 시간 초기화
Warding Strike
8- 비호 동안 지속 회복
스티그마
이 레벨에서 6칸 중 6칸 개방 · 상위 플레이어 비율
Doom Shield
Grapple
Empyrean Lord's Punishment
Battlefield Banner
Noble Armor
콘텐츠별 선택지
Taunt
Assault Fury
Second Skin
Executing Blade
목표 능력치
우선순위 순, 캐릭터 정보에 있으면 내 수치
1Attaque / Boost de DGT처치 속도.
2Multi-coups발동하면 피해가 두 배가 됩니다(Bahamut).
3VIT de combat맹렬한 일격의 타수가 늘어납니다(정신력, 흡수).
4Drain / PV쉬지 않고 이어지는 지속력.
알려진 기준치와 상한
- 글로벌 기준치는 공개되지 않았습니다.
데바니온
보드 순서
- 1Zikel
- 2Nezekan
- 3Triniel
- 4Vaizel
- 5Marchutan
- 6Ariel
- 7Yustiel
보드별 추천 노드
- Zikel : 개방 Lv.20, 152노드: 피해 증폭(한국의 큰 노드는 5%, 글로벌은 2.5%), 추가 공격력 +100, 치명타 +210, 방어력 +1,000, 생명력 +1,700~2,000(Roah).
- Nezekan : Lv.12에 열리는 기본 보드로, 한국에서는 152노드로 확장되어 있습니다. 전투 속도, 쿨감(글로벌의 1.5% 대신 2.5%의 큰 노드)과 스킬 노드가 있습니다. 전투력을 위해 한국 유저는 추가 공격력(+105), 치명타(+200), 추가 방어력(+1,050)을 먼저 찍고 그다음 생명력(+1,500~2,000)을 찍습니다(Roah, 8월 10일, 전 클래스 대상, 수호성 게시판에 재게시). 그래도 심판, 맹렬한 일격, 연속 난타, 징벌 노드는 챙기세요.
- Triniel : Lv.40에 열립니다. 다단 히트 확률, 추가 공격력 +100, 치명타 +210, 방어력 +1,000, 생명력 +1,400~2,000(Roah).
- Vaizel : Lv.30에 열립니다. 치명타 피해 증폭, 추가 공격력 +105, 치명타 +200, 방어력 +1,050, 생명력 +1,600~2,000(Roah).
- Marchutan : 2026년 2월 초월 ‘가라앉은 생명의 신전’과 함께 추가된 한국 보드입니다. 합계로 생명력 +1,600, 추가 방어력 +1,100, 막기 +210, 추가 공격력 +110, 치명타 +210, 추가 명중 +210, 무기 피해 증폭 +10%를 줍니다. 이 가운데 무기 피해 증폭 +10%는 Nirr의 경로(2월 27일)에서 68포인트(무기 피해 증폭 노드 4개)로 얻습니다. 탱커에게는 피해량에 더해 생존력까지 올려 주므로, 결정이 생기는 대로 찍으세요.
- Ariel : Lv.45에 열리는 PvE/보스용 보드로, 전용 결정이 필요합니다(일반 포인트는 쓸 수 없음). 공격력, 피해 증폭, PvE 명중이 있습니다. 결정은 지역 퀘스트, 악몽 상점, 또는 각성전·토벌전 조각 변환으로 얻습니다(Roah, 2025년 12월. Nirr, 2025년 11월). 악몽 상점 시즌 1 가격: 1·2단계는 조각 24,000개에 아리엘 포인트 20개, 이어서 19,200개에 6포인트(단계 3, 26포인트 합계).
- Yustiel : 한국 공격 보드: 공격력 %, 최대 공격력, 완벽(aion2tool). 이 보드의 공격력 %는 130% 공격력 % 상한에 포함됩니다(aion2tool, 4월 22일). 깃발에는 기본 방어력만 반영됩니다(DC 가이드는 돌파, 조율, 정의 방어력을 제외).
아르카나
아르카나: 글로벌 공식 캐릭터 정보에서는 슬롯 5개입니다(Mein-MMO는 4개라고 하므로 게임에서 확인 필요). 카드마다 스킬 레벨을 올려 주고 신 능력치를 부여하며, 같은 세트의 카드를 여러 장 모으면 PvE 보너스가 붙습니다. 아르카나 상세 정보 열기
이 빌드에 추천
Cartes portant Frappe féroce / Frappes successives / Châtiment
광역기의 레벨이 높을수록 무리를 더 빨리 처리합니다(ExpCarry). 세트가 하나뿐이라면 탱커용 카드를 그대로 두세요.
로테이션과 매크로

Farming (Korea): Doom Shield restarts Annihilate and Judgment
SolAshur’s PvX macro의 매크로를 응용추정
- 솔로·레벨링
- Lv.45부터
- 스티그마 6/6
누르고 있기: X1 + 좌클릭마우스 측면 버튼 추천: 게임은 키를 지정하지 않습니다
- 1단계: 우클릭, Judgment, Shield Smite, Pummel
- 2단계: E, Doom Shield, Annihilate, Debilitating Smash
- 반복, 10 ms
이 매크로를 쓰는 이유, 단계별 설명
Same idea as the Global farm (Doom Shield first to go pack to pack), with the Korean rework: Doom Shield resets Judgment and opens 5 s (45 s cooldown), Warding Strike no longer opens Judgment and leaves the line. On a pack, Power of Judgment does not need upkeep, so Shield Smite stays in the macro, unlike the Korean boss builds.
 Judgment : Up to 3 casts per 5 s window.
 Shield Smite : Opens Judgment for 5 s, stuns the pack.
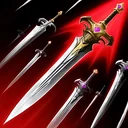 Pummel : AoE filler.
 Doom Shield : Rush to the pack, knockdown, Judgment reset.
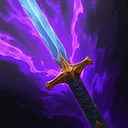 Annihilate : On the knocked-down mobs.
 Debilitating Smash : After a block.
수동으로 사용
- Grapple, Empyrean Lord’s Punishment and a charged Punishment to open.
- Noble Armor all the time; Assault Fury or Second Skin depending on the pack.
- Warding Strike to heal yourself; Poach, Defiance.
게임 내 설정 방법
Entry A (Judgment, Shield Smite, Pummel) and entry B (Doom Shield, Annihilate, Debilitating Smash), 10 ms, left click held.
- 스킬 창(K)을 열고 오른쪽 위의 매크로 버튼을 누르세요.
- 파란 키마다 단계를 하나씩 번호 순서대로 추가: 아이콘을 클릭하고 슬롯을 고르세요.
- 각 단계의 지연: 10 ms.
- 설정, 키, 일반, 스킬 매크로: 매크로를 누르고 있을 키를 지정하세요.
이 매크로의 출처
Built from SolAshur’s “PvX” setup (25 Sep 2026), adapted to the Korean notes of Nov 11 and 13; no Korean farming macro has been published since the rework.
출처:solashur.comaion2.plaync.comaion2.plaync.com
선택 이유: 내 빌드의 매크로 · 대상: 솔로·레벨링
이 스킬바를 쓰는 이유
- 좌클릭Vicious Strike : 맹렬한 일격은 매크로와 함께 누른 채로 둡니다. 연계가 정신력 100~120을 회복시키고, 적중마다 비호의 일격의 쿨타임을 2초 줄이며(Lv.12 특화), 심판을 캔슬하는 것도 이 스킬입니다(‘맹심’).
- 우클릭Judgment › Shield Smite › Pummel : 심판 줄, 매크로 1번째 항목(맨 아래 슬롯 = 우선순위): 구간마다 심판, 구간을 다시 여는 비호의 일격과 방패 강타, 맨 위에는 빈틈을 메우는 연속 난타.
- QShield Rush › Poach : 긴급 회피 뒤에는 방패 돌격(심판을 2초 동안 엶). 그 밖에는 포획으로 대상을 끌어오거나 보스에게 돌아갑니다(보스 특화: 면역 대상에게 이동).
- EDoom Shield › Annihilate › Debilitating Smash : 섬멸 줄, 2번째 항목: 활성화되는 즉시 섬멸(기절하거나 넘어진 대상, 보스에게는 5%). 그렇지 않을 때는 파멸의 방패가 심판을 3초 동안 열고 섬멸을 초기화합니다(5단계).
- 1Taunt : 도발은 쿨타임마다(30초, 15단계에서 25초) 20m에서: 보스에게 위협 수치와 위축(Shrink)을 겁니다(공격력 −10%, 5단계에서 PvE 피해 내성 −10%). 파티 전체의 추가 피해로 이어집니다.
- 2Grapple : 내 빌드에 맞게 변경: 빌드의 스티그마가 클래스 기본 배치의 Shield of Protection 자리를 대신합니다.
- 3Defiance : 충격 해제: 보스전을 망칠 CC기에 쓰세요. 한국 유저들은 넘어뜨리는 강한 내려찍기에 아껴 둡니다(Inven, 10월 5일).
- 5Punishment › Flash Rampage : 징벌은 풀차지될 때까지 누릅니다(마지막 단계에서 저절로 나감). 대상 4명, 집행자 20초(명중 +200, PvE 피해 증폭 +20%). 같은 키에서 그 위에 둔 섬광 난무는 그로기 중 징벌이 쿨타임인 동안 나갑니다(빵호빵).
- RBattlefield Banner : 전장의 깃발: 10초 동안 내 방어력에 비례한 공격력(10단계에서 무기 피해 증폭 +10%). 오프닝과 피해 구간에는 직접 쓰고, 편의상 매크로의 3번째 항목으로 둘 수도 있습니다.
- DC Inside (KR) – « 수호성 유입을 위한 PVE 수호성 가이드 - 2 » (MAJ 29/09/2026 : stigmas et niveaux 25, ailes, lignes d’âme par pièce, pierres de mana, titres, macro intégrée)공략·크리에이터2026. 09. 29.교차 확인
- aion2tool (아툴, KR) – statistiques des meilleurs Templiers coréens : niveaux de stigmas et de passifs (150 joueurs, 01/10), cartes d’Arcana et sets (200 joueurs, 04/10), équipement par tranche de puissance de combat (04/10)언론2026. 10. 04.교차 확인
- DC Inside (KR) – « 뉴비 50레벨 이후 가이드(PVE기준) » (05/07/2026 : stigmas niveau 25, Arcana, Panthéon, Analyse de genre, contenus)커뮤니티2026. 07. 05.단일 출처
- Inven – récapitulatif du live NC du 30/06/2026 sur le Chapitre 1 (niveau 50, stigmas niveau 25 et 6e emplacement, Arcana de statistiques, expéditions et Transcendance à 3 800–4 800)언론2026. 06. 30.교차 확인
- AION2 Hub – notes de mise à jour KR du 26/08/2026 (Exaltation du Templier 10/15/20 %, bonus de set d’Abysse 8 et 12 pièces)언론2026. 08. 26.교차 확인
- AION2 Hub (global) – fiche Templier : compétences du client global (Launch Scale Test, 19/09/2026)언론2026. 09. 19.단일 출처
- MMO Codex (global, EN) — Aion 2 Templar Guide (maj. 21/09/2026 ; aLuckyRO, Seonghan, binstory, Ppayeomland…)공략·크리에이터2026. 09. 21.교차 확인
- aLuckyRO (YouTube, global EN) — « AION 2 Templar PVE Build for Skills & Stigmas »공략·크리에이터2026. 09. 01.교차 확인
- ExpCarry (global, site de boost) — AION 2 Templar Builds상업 사이트2026. 09. 28.추정
- Bahamut (TW) — « 守護星 PVE 技能配點 »커뮤니티2025. 11. 20.단일 출처
- NC (KR) — Note de mise à jour du 22/07/2026 (drain de vie limité à une cible)공식2026. 07. 22.공식
- Aion 2 Maps (global) – guide Templier : build à 45, stigmas, plateaux Daevanion, macro, tank, JcJ (MAJ 02/10/2026 ; client global + sources de créateurs et fiches officielles)언론2026. 10. 02.교차 확인
- Fiches officielles NC, plateau Daevanion Ariel (n° 25) des 9 premiers Templiers du global : 153 nœuds, 232 points, 73 à 122 nœuds ouverts (lues le 13/11/2026)공식2026. 11. 13.공식
- MetaBot.GG (global) – Templar build : 3 741 Templiers suivis (stigmas, compétences, arcanes, Daevanion ; données du 12/11/2026)언론2026. 11. 12.교차 확인